How to get tack sharp photos
I have had a few comments and DM’s asking me about focus. Trying to get tack sharp focus and sharpening images to have that really clean and sharp look.
I honestly haven’t had any “secret” training on this, but I do have quite a few “aha” moments that have helped me to get more and more of my photos in focus.
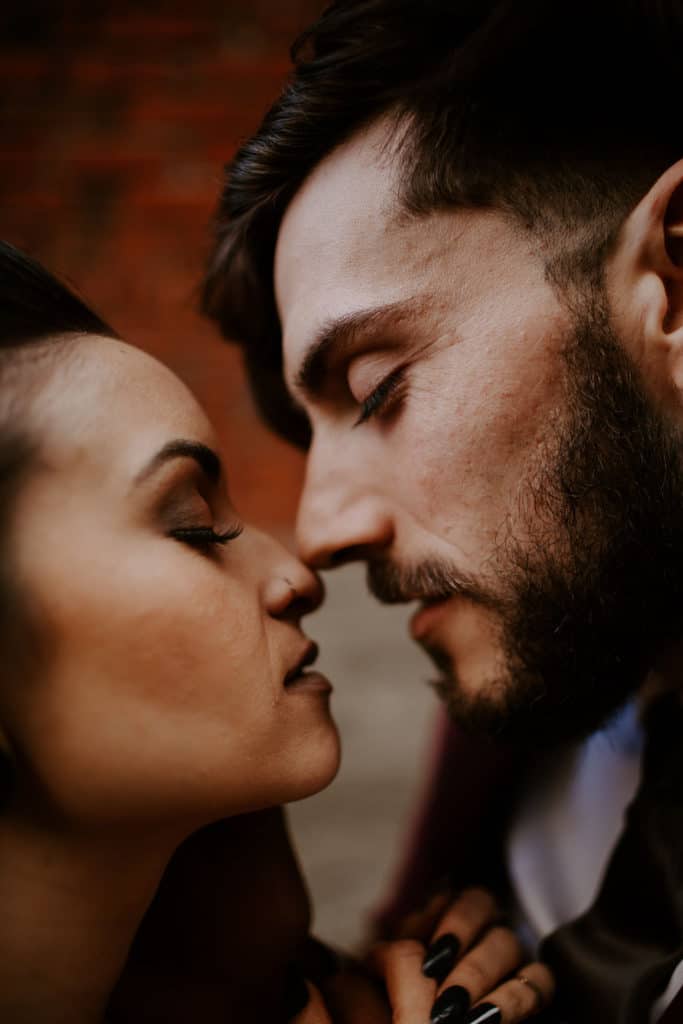
I used 1.4 here (image above) to purposefully get things out of focus. You can see where her skin is blurred and then comes back into the texture in focus. You should use your depth of field purposefully.
First Problem: Depth of field is too shallow.
Solution: Shoot in 2.8 rather than 1.2 or 1.4 for more than one person in the frame. This one is big because your subjects typically move around and so do you (without realizing it) and if you move even a tiny bit, you will move the depth of focus and your subject out of that sweet spot. So increase your f-stop to have a larger depth of field to keep them in a safe zone.
If you shoot at 1.4 or 1.2 on purpose, try to focus on their eyes if nothing else. The eyes are the most important to get into focus. As humans we naturally look to someones eyes in an image, so that should be where you put your attention when shooting (in my humble opinion).
Second Problem: You move without realizing it.
Solution: Pay attention to your own movement and take that extra second to double check and re-focus. I realized that I would focus on my subject, then move ever so slightly or breathe and that would move them out of focus. I found that paying attention and taking an extra second to let go of the focus button and just press it again brought my subjects into tack sharp focus so many times. I would have missed so many shots!
Third Problem: Social media and websites usually make the photo blurry.
Solution: When I export my images, I usually go under “Output Sharpening” and tell it to sharpen for “screen” and “high.” Also, in Instagram, edit your images by adding sharpening to it. This helps a ton! It also helps that your photos are already super sharp to begin with, just sayin.
You can see how I export my images for the web HERE.
These three things don’t really seem like a lot, but they honestly have changed the game for me. I don’t use anything different than the rest of you. You can see my gear list HERE, and I shoot just the same way, but I take a little bit more time and care to make sure things actually are in focus.
Want to really check? Peter McKinnon did an awesome video (start at 1:46 in the video) on some gear he just bought and one of the things on the list is a LCD Viewfinder: https://amzn.to/2Ves7A9
This allows you to look really close at the screen on your camera and check and make sure things are in focus. I can’t wait to try it and tell you guys how I like it!
IN THE MEANTIME… please tell me if this helped you out by leaving a comment below! I want to know! Also, let me know what other questions you might have! I love problem solving through these things with you!
Chat soon!
Casi

