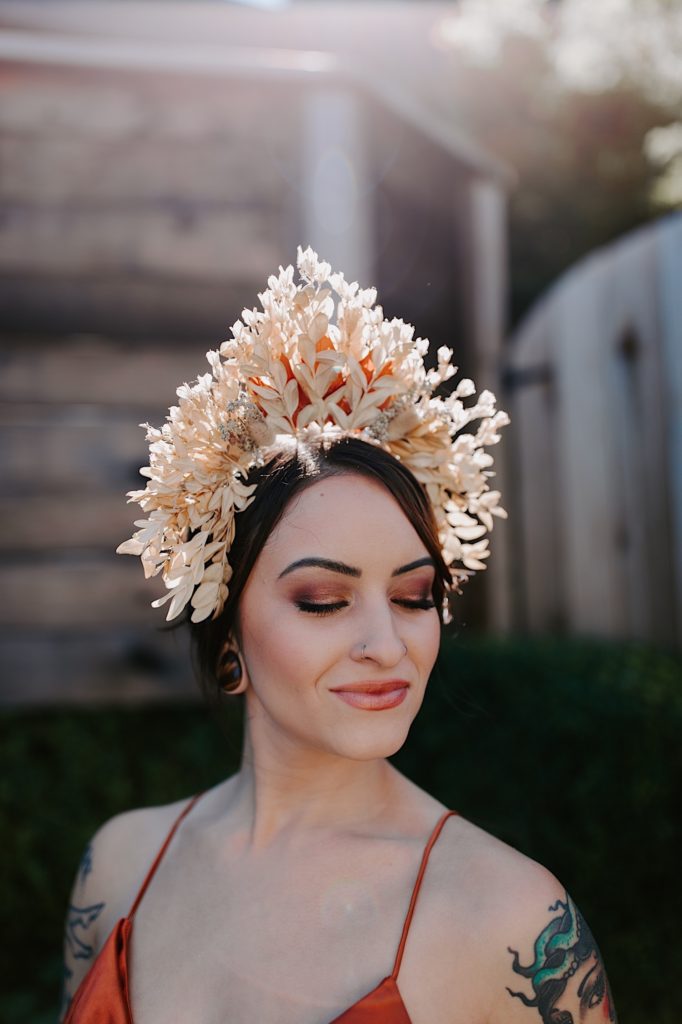
Bridal Wedding Makeup Tips by Professional Artist, Marina Haynes
I cannot claim to know anything about makeup for your wedding day which is why I asked my dear friend Marina Haynes to write up a list that would help brides wanting to do makeup for their own day. She is one of the best makeup artists I’ve ever worked with, so when she said she would compile something for me, I jumped at it! Follow her advice, and if you want to peep her work, you can do that here – MARINA HAYNES ARTISTRY
Without further adieu, here is Marina:
There are a lot of brides who might be thinking, “I’m pretty savvy with makeup, so I think I’ll do my own makeup for my wedding. Besides, I want to look like myself and not overly done. ” It’s considerable and very practical, though coming from a makeup artist, as well as a former bride who’s done her own makeup—I don’t recommend it. It’s a lot to hold your once-in-a-lifetime wedding day beauty in your own hands. BUT…with that said, not everyone has the luxury of hiring a make up artist for their wedding. And so, I’ve put together a few pointers for the brides who are testing their skills and going it alone.

- Prep your skin. Cleanse, exfoliate, use a mask to balance and hydrate, and moisturize for a supple canvas that your makeup will stick to.
- When purchasing makeup, it’s important to keep formulations the same. Cream/liquid blush or highlighter goes on top of cream or liquid foundation. Powder blush/contour/ highlighters are applied after a layer of powder. This is important if you’re looking for a seamless application that reflects light in all the right places on camera. When you’re advanced you can play with these rules, but to start, I’d go with the basics and keep your formulas the same.
- FOUNDATION COLOR MATCHING IS VERY IMPORTANT. If you’re unsure of your right color match, head to your local Sephora and ask to try 3 different formulas in your shade. I’d try a sheer, medium, and full coverage so you can see the difference between formulas. Then go back and purchase the one you love, or heck, try another 3 if you’re not satisfied.

- Try to find a formula without, or with a low SPF content. MakeupForever makes my favorites.
- Look on Pinterest to find a look you think you can rock, and purchase the products you’ll need. Facetime phone consults with a makeup artist, or those gals over at Sephora can definitely help.
- Next you’ll need to PRACTICE! A makeup artist doesn’t wake up one day with skills. They are learned and taught and perfected with practice. So, I’d try your look on a few times to get it just right. Especially lashes, if you can’t seem to get it right, find a friend, or family member to assist.
- Watching Youtube videos is fun and can be helpful, but be wary of the ones you choose. Sometimes too much information can be a bad thing. Get your info from artists who applies makeup on other people, not themselves.
- You’re applying make up for in-person, and for on-camera, so be sure to take a photo of yourself in great natural lighting (by a window), and check to see if there needs to be anything added. Perhaps a bit more check color, eyeliner, or maybe your lip color isn’t an even color on your lips. The camera shows all.

- BLEND, BLEND BLEND! Blend your eyes how, blend your foundation, if you’re unsure if it looks good—keep blending! There’s nothing worse than a highlight/contour line under the jaw, or cheekbone. Blending is our friend.
- Last but not least, look at your photographer’s portfolio. Are their photos bright and airy, or darker and moodier? The brighter the photo, the more makeup you will need, and the darker the photo—the less. Practice your look, and play with filters on your phone to see how your makeup changes in different lighting. You’d be surprised how your pink lipstick, turns a few shades darker with just a change of light!
That’s it for now! I hope this helps you achieved a perfect makeup look for your wedding day!
